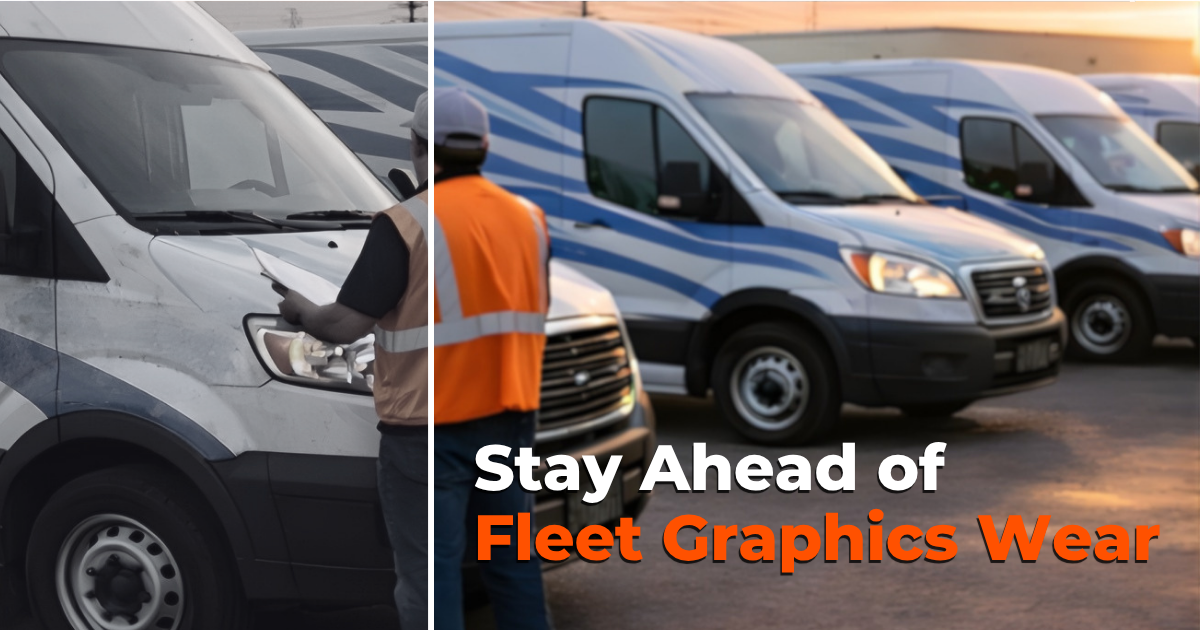
The 3 bad things you should never get with a vehicle wrap are too common and happen far too often, but are easy to avoid. If you want to skip this post, here’s all you need to know. Hire an experienced professional provider to complete your fleet graphics, like TKO Graphix. I’ve come to believe it’s not only okay to promote our products and services in our blogs, but when we can save someone the headaches of doing the wrong thing, then it’s our responsibility to promote what we do. Here’s what you don’t want to get with a vehicle wrap.
3 Bad Things You Should Never Get with a Vehicle Wrap
1. Bubbles
One of the things you shouldn’t get with a vehicle wrap are bubbles or air pockets. There are several ways to create bubbles in a vehicle wrap – using the wrong material, inadequate surface preparation, and improper installation are the three most common. Air pockets caused during installation include improper heating of the vinyl post-application or installing in unfavorable conditions such as high humidity or cold temperature. “For installation‚ the ultimate temperature-controlled environment is 70° F (21° C) with 50 percent humidity. For best results with films recommended for vehicle wrapping‚ always apply when the air and vehicle surface are both above 60° F (16° C).” –3M Graphic Solutions
How to Remove a Bubble in Vehicle Graphics
The best time to remove a vehicle graphics bubble is during installation. The longer a bubble is allowed to fester, the more problems it can cause. To remove a bubble:
- Use a pin to put a small hole in the center of the bubble.
- Squeegee around the bubble.
- For rivets, use a rivet tool or Rolle Pro to pop the rivet out, not allowing bubbles to form on the edges of the rivet.
2. Peeling
Peeling edges are a common problem with vehicle graphics. There are three steps to avoid peeling edges:
- The edge must be clean, with no oils, film, dust, or debris.
- The adhesive vinyl should be squeegeed smooth with no wrinkles. It’s best to use an approved squeegee.
- Post-installation procedures must be followed, including heating the adhesive vinyl to the manufacturer’s specifications.
A local franchise of a national restaurant chain brought their vehicle to TKO Graphix for an estimate. Areas of the existing wrap were peeling because another provider hadn’t properly installed around the rivets, which caused lifting and eventually peeling.
Another problem with peeling vinyl graphics is when the adhesive vinyl isn’t applied properly around the edges, which will eventually peel away. One of the ways to avoid peeling edges and seams is to use an edge sealer. Here’s how 3M, the worldwide leading manufacturer of adhesive vinyl, explained edge sealing.
How to Apply Edge Sealer
1. Do not apply edge sealer unless the temperature is above the minimum recommended temperature.
2. Remove the application tape and re-squeegee the edges before applying the edge sealer.
3. Use the felt dauber supplied with edge sealer or a 1/4-inch (0.6 cm) brush.
4. Wipe any excess edge sealer off the dauber or brush.
5. Hold the brush or the flat edge of the dauber so that it straddles the film and substrate.
6. Pull the dauber or brush along the edge in a smooth, continuous motion. Make sure the entire edge is covered with no gaps.”
(If this sounds complicated, make it easy on yourself. Hire a pro.)
3. Wrinkles
Wrinkles are something you don’t want to get with a vehicle wrap. Wrinkled vehicle graphics are a definite no-no. Wrinkles (and bubbles) look bad and will eventually lead to the failure of the adhesive vinyl. Moisture forms behind the wrinkle and then, due to expansion and contraction, will separate from the substrate, ultimately forming a rip.
Using a heat gun correctly without overheating or overstretching the material is one way to avoid wrinkles. Proper heating and using a professional adhesive vinyl squeegee is essential. Doing it the right way is the best way to avoid wrinkles.
“Proper squeegeeing techniques will help you avoid wrinkles in the first place. Of course, mishandling the vinyl can cause wrinkles before the film ever gets installed. If you wind up with wrinkles, however, don’t worry. Removing small wrinkles during installation is typically as easy as pushing from the center of the wrinkle toward the edge of the graphic with your fingernail to even out the bunched-up materials.
Removing larger wrinkles is an altogether different story. That requires slitting the material and then overlapping the vinyl. While this is far from a perfect world scenario, it is much better than leaving an air pocket in the vinyl because that air pocket will cause premature failure that is not covered under the vinyl manufacturer’s guarantee. You may be off the hook, though, if a large wrinkle is at the edge of the graphic because you can use a little heat to soften the film, lift it up, stretch the vinyl out until the wrinkle is gone, and then reapply the film.” — SignIndustry.com Avoiding Wrinkles During Vinyl Application
Pro Tip: A vehicle wrap shouldn’t be a patchwork quilt of pieces. Too often, when an applicator doesn’t know how to wrap corners or uses the wrong material, patches are placed to compensate. However, too many patches and your wrap will look like a quilt.
Just Say No! Hire a Pro!
These 3 things top the list of what you shouldn’t get with a vehicle wrap, but there’s even more. If you’d like further information or advice, be sure to Contact Us.
If you’d like a free estimate for your fleet or vehicle graphics, you can Request A Quote.
TKO Graphix is a national fleet and vehicle graphics company helping customers since 1985. We provide full-service graphic design, digital printing, screen printing, graphics installation, and removal of large format graphics.
We’ve been helping businesses, large and small, brand their fleet of tractor-trailers, work trucks, and company vehicles. Whether you have a fleet of thousands or a few vehicles, we are here to lead you through the vehicle branding process.
TKO Graphix is proud to be a 3M™ MCS™ Warranty graphics manufacturer. We employ the largest 3M Certified installation crew in the country. If you’d like to learn more and get a free quote, contact us today.